


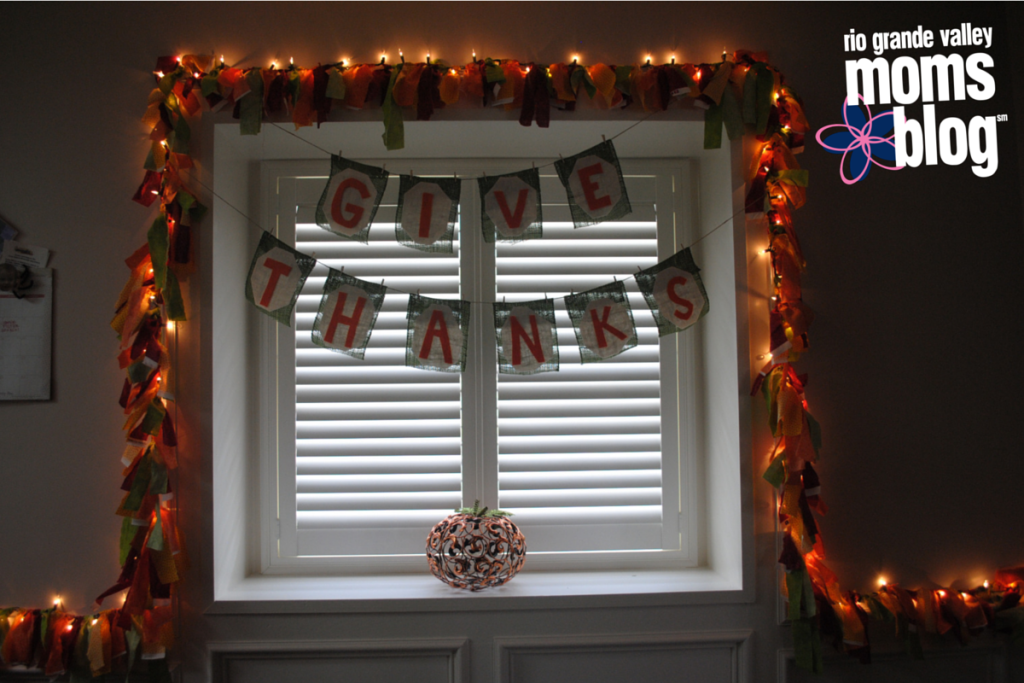
Now that my toddler is old enough to comprehend holidays, I’ve been having fun decorating the “holiday window”. For Halloween, the holiday window was decorated with spooky (or as my daughter says “pookie”) purple lights with fun glittery pumpkins, owls and cats. I was worried how Thanksgiving would match up to the glitz and glamour that comes with the “pookie” day. After scouring Pinterest for some much needed pinspiration, I came up with a combination of decor to create an easy peasy DIY Thanksgiving Garland that is fun and totally kid approved.
What you’ll need:
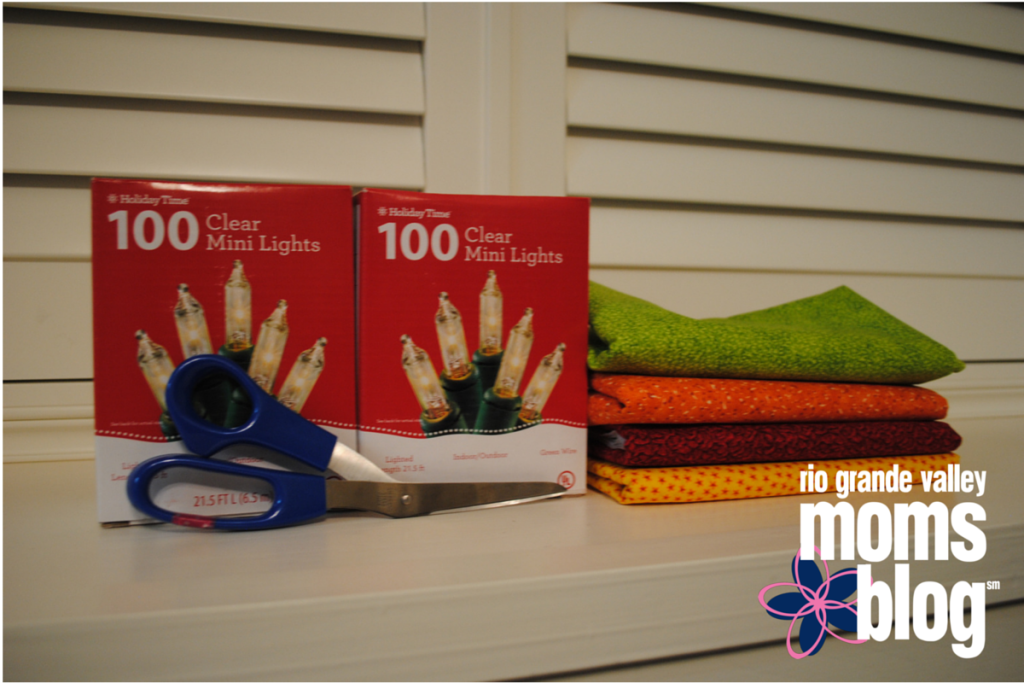
- Mini Lights
- 4-6 Different Types of Fabric (I used one yard of each)
- Scissors
Lay the fabric flat and cut about one inch slits on one end of the fabric

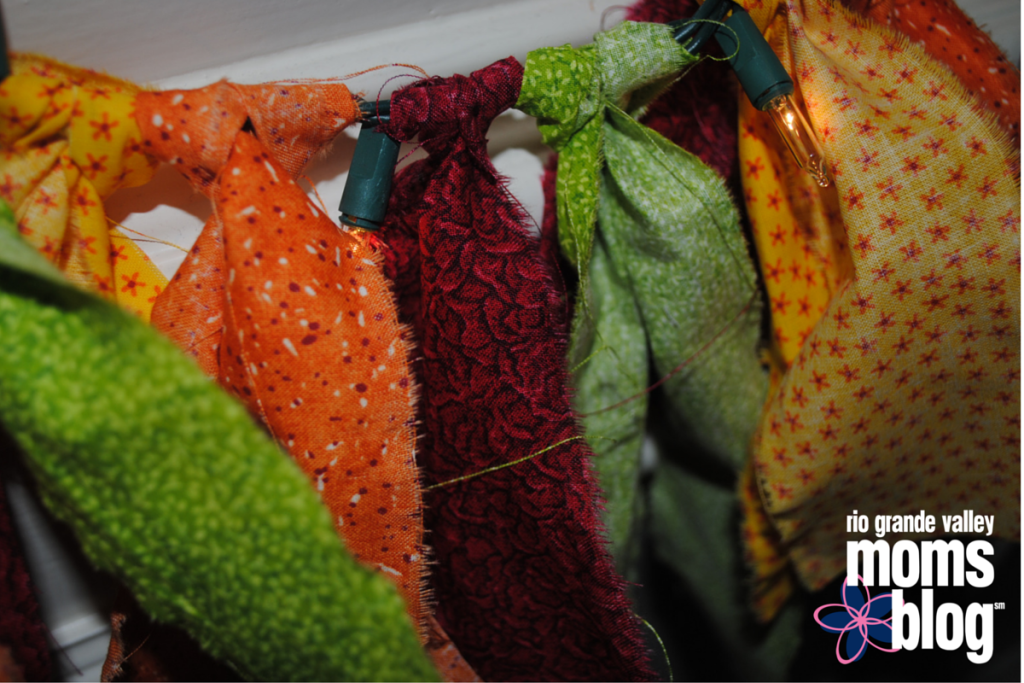
Quickly pull at each tab of fabric. This will shred the fabric into long one inch strips. Don’t worry about the fraying. The imperfections of the fabric is what gives this garland so much character. Added bonus: This was a total stress reliever…who would have thought ripping fabric into shreds would be so soothing!
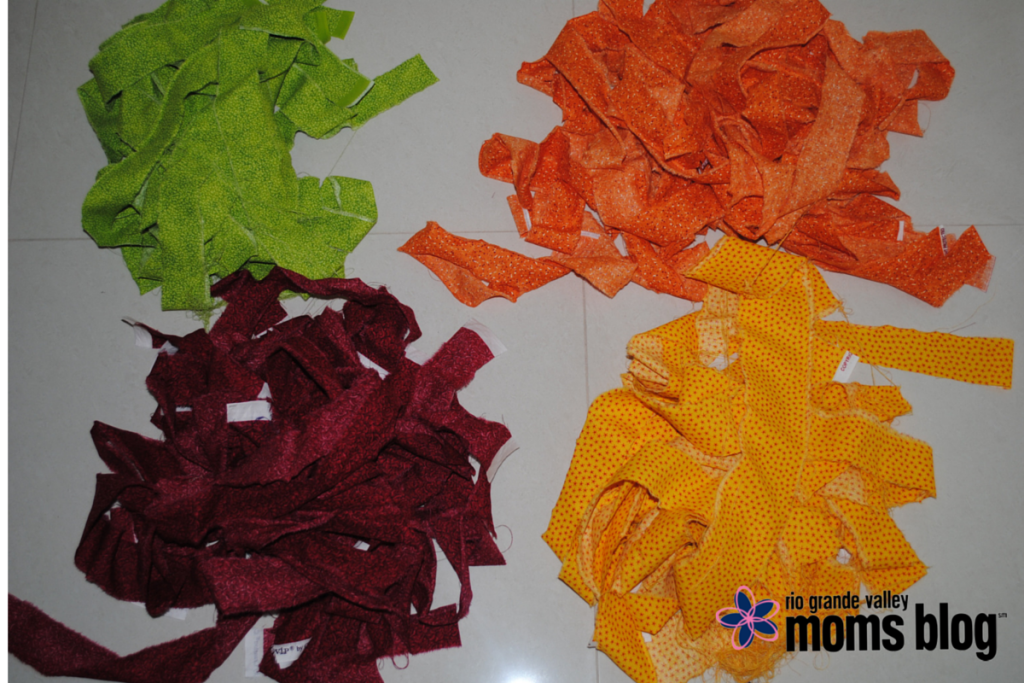
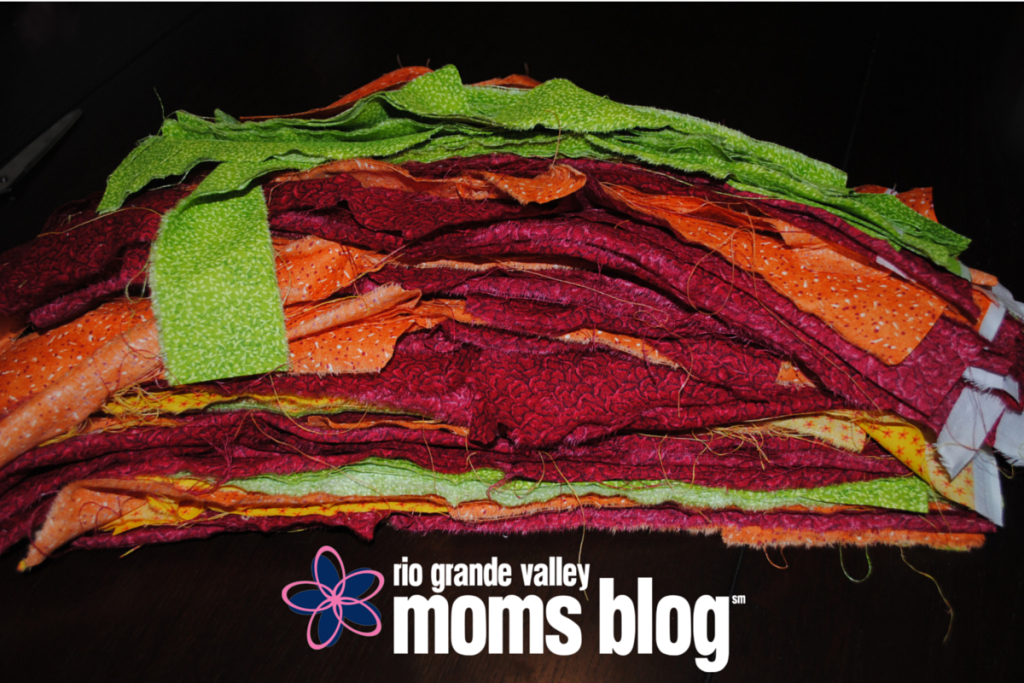
Depending on how long you want your garland strands to be, cut the long strips into smaller pieces. I guesstimated mine to be about 6-8 inches.
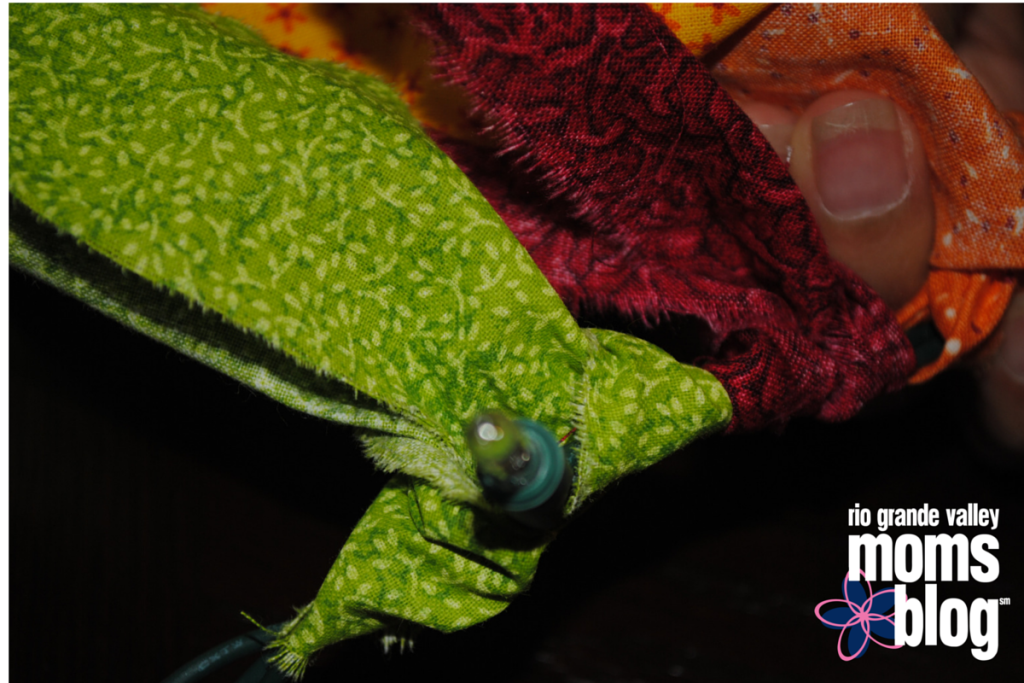
Fold strip in half and lay it under the string lights. (You should have a loop on one end)
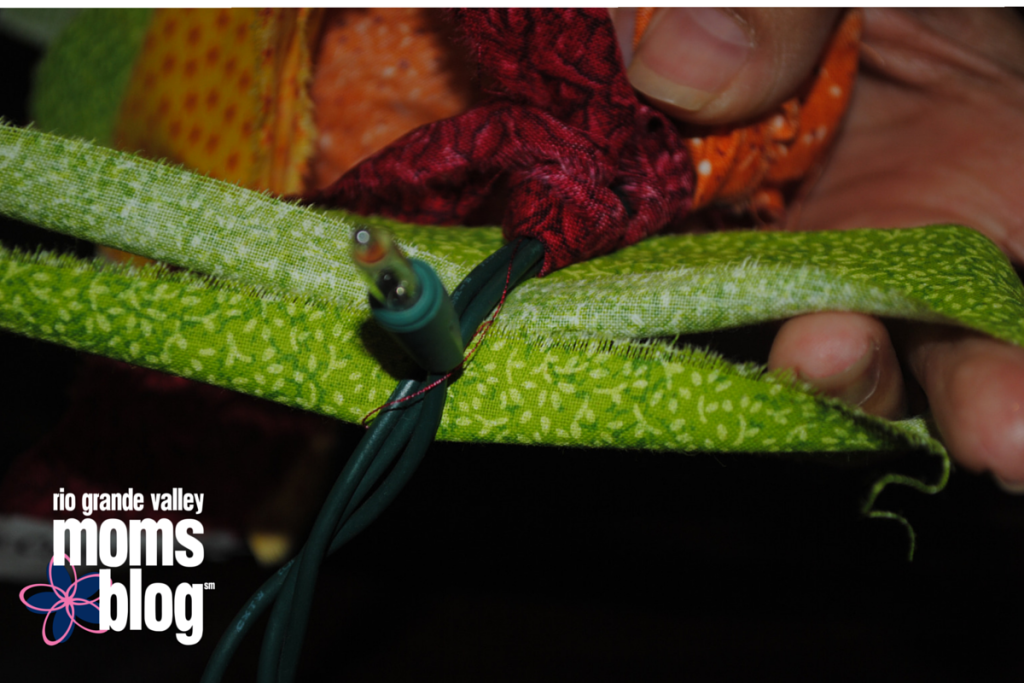
Pull the two ends through the loop until tight
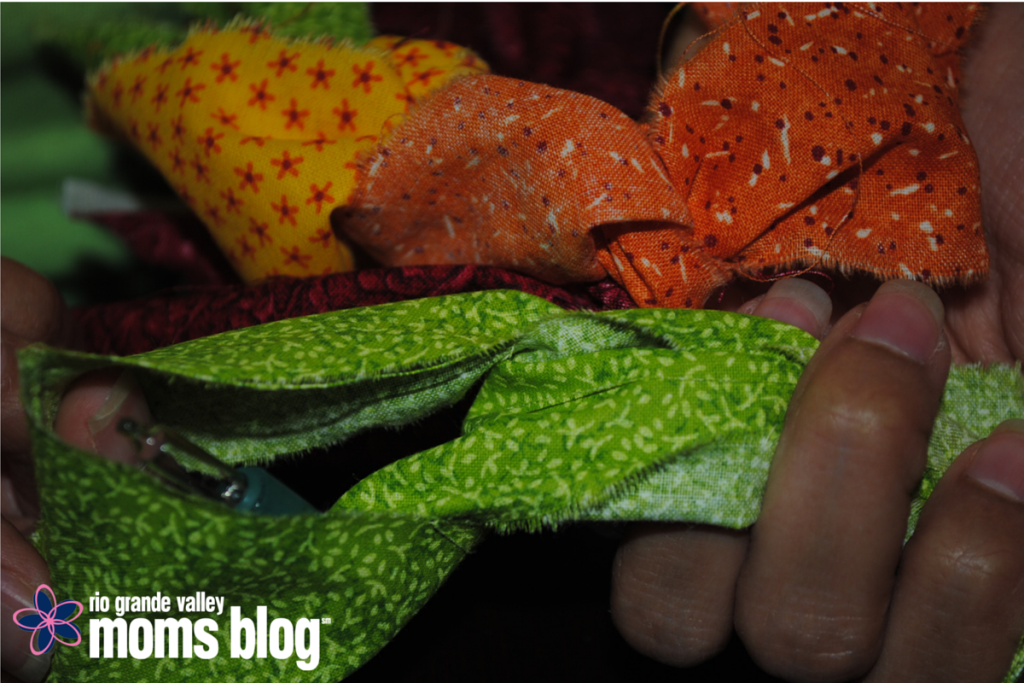
Continue doing this until your string lights are covered. This can take a bit of time, so get comfy!


What a great project to do with the kids! Thanks for sharing 🙂