


Pumpkin decorating has been a BLAST this year with my kids! All that was missing is a Halloween centerpiece. The toddlers really got in to the painting (literally) and gluing for an end result that was truly personalized. They were a 1- and 3-year-old version of the great No-Carve Pumpkin Ideas post.
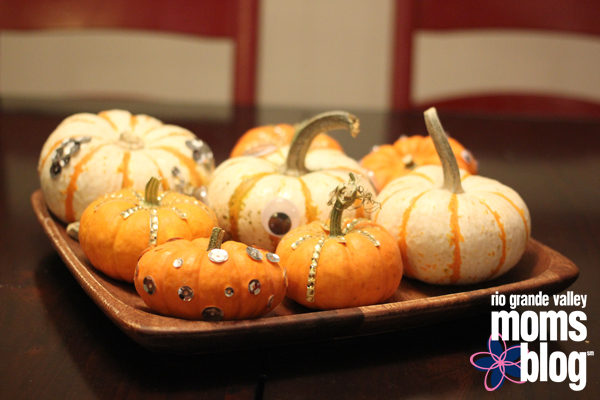
After all of their fun, however, I wanted to create a decoration of my own that had its own flair and could stay on my dining table as a holiday Halloween centerpiece.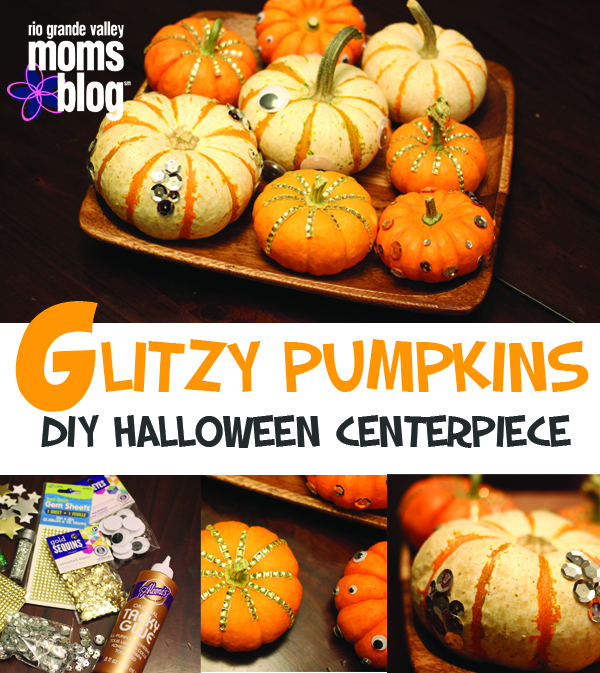
The best part about this project is that it was a super LOW BUDGET Halloween centerpiece. Everything (aside from the mini-pumpkins) could be found at the dollar store or were items I already had on hand.
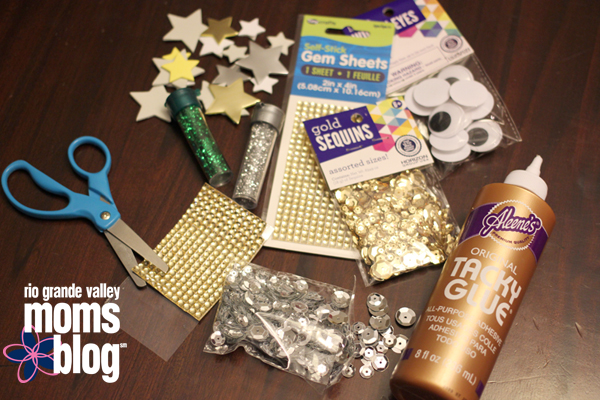
Supplies:
 Tacky Glue or Kraft Glue work best (Dries quicker and runs less than kids’ glue)
- Gold and Silver Sequins
- Gem Sheets (Cut into strips of various sizes)
- Scissors (for cutting the gem strips)
- Plastic Eyes
- Glitter (not used this time, but could be great!)
- Sticky Foam Stars (used on my kids’ pumpkins, but could have worked as well!)
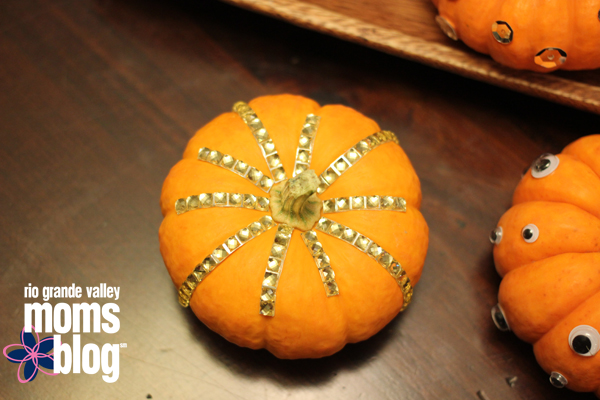
Gem-Studded Pumpkin
Dollar General has sheets of sticker gem sheets that were made of a really thick plastic, making them durable but easy to cut and stick on to the pumpkin.
Mix it up by varying the length of each strand.
Place the gem strands in the creases of the pumpkin to accentuate their natural form.
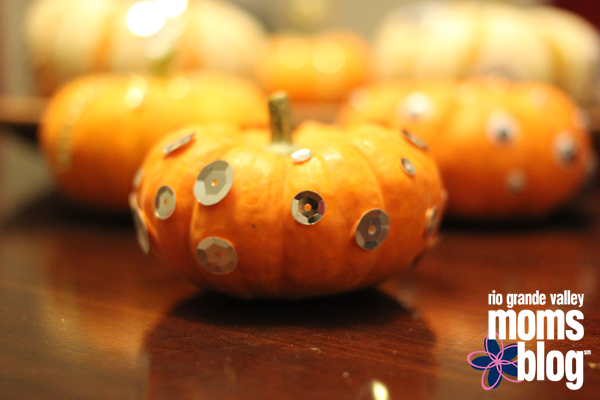
Sequins-Studded Pumpkin
A single packet of sequins goes a LONG way! One mini-pumpkin required about 20-30 sequins total.
For visual appeal, vary the placement and the sizes as you attach sequins to the pumpkin.
For easiest application, place the dot of Tacky Glue on the pumpkin first, then place the sequin on the glue. (This is much easier and less messy than applying the glue directly to the sequin.)
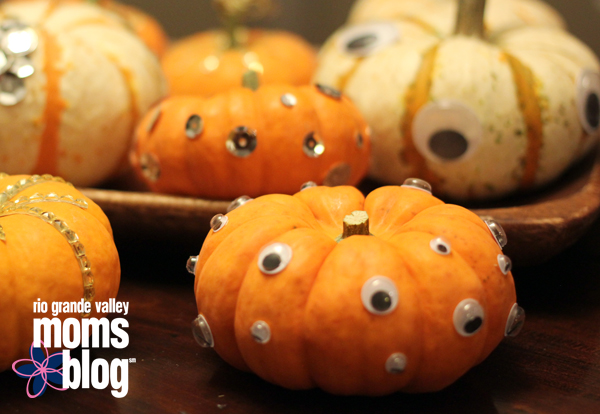
Crazy Eyes Pumpkin
Use the same technique as the previous sequins-studded pumpkin.
Use varying sizes to give it LIFE and visual appeal.
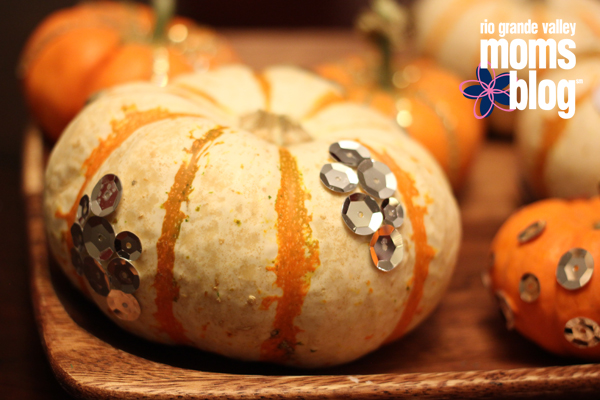
Shiny Cluster Pumpkin
Again, super easy technique like the previous two for your Halloween centerpiece. The difference is to fit them together organically.
Place a larger one or two in a row and then tuck a smaller sequin into the space between.
I drew glue shapes onto the pumpkin first, then tiled the sequins all at once (again, less mess).
 Above all, my biggest tip is to take pictures of your Halloween centerpiece RIGHT AWAY or (like me) you might wake up the next morning and find that your toddlers prefer a deconstructionism approach to your piece of artwork and strip them of their sparkle and pizzazz.


